This article introduces the Delivery Checkout feature Category Labels and offers a step-by-step guide on how to set up and add Category Labels in the Ingrid Merchant Platform (IMP).
What are Category Labels?
Category Labels empower merchants to provide explanatory information about the delivery options during the checkout process. By assigning labels to different delivery options, merchants can offer valuable insights to the end-users, helping them to make informed decisions.
There are three types of Category Labels available for merchants to utilise:
- Sustainability Labels: These predefined labels allow merchants to showcase eco-friendly delivery options, providing customers with information on sustainable shipping choices.
- Priority Labels: Also predefined, these labels highlight the urgency of certain delivery options, enabling customers to choose faster shipping methods.
- Custom Labels: Unlike predefined labels, Custom Labels offer complete flexibility, allowing merchants to create unique labels tailored to specific delivery options without predefined elements or icons.
Each Category Label can include a description, visible to customers when hovering over the label (or tapping on it in case of mobile devices), providing additional context and transparency.
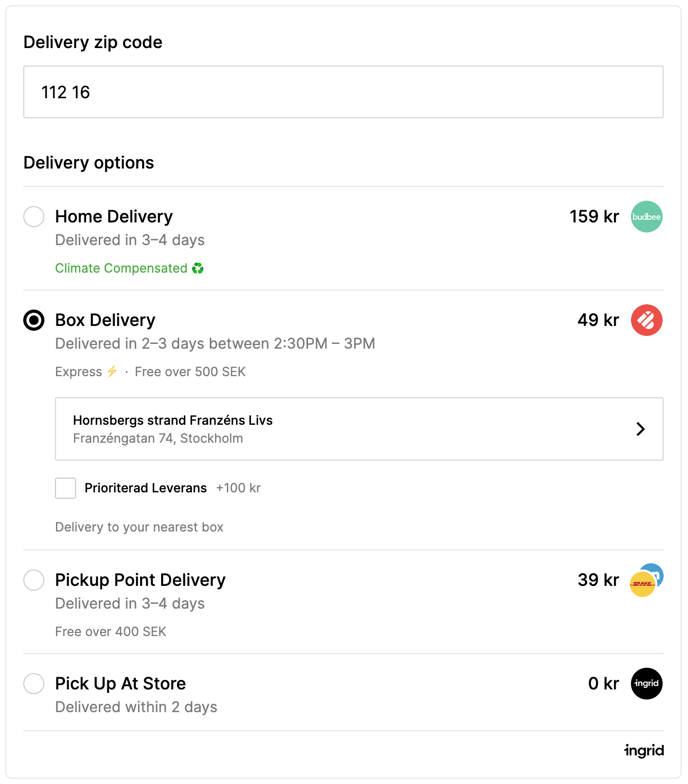
Example of a Priority label
How to set a Category Label in the IMP?
To Create or modify labels, follow these steps:
- Edit the Desired Delivery Category within the Selected Region.
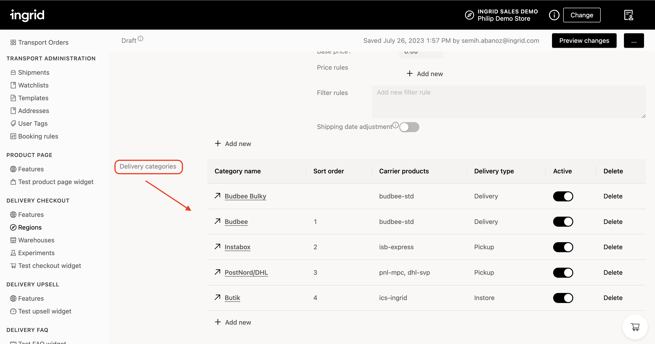
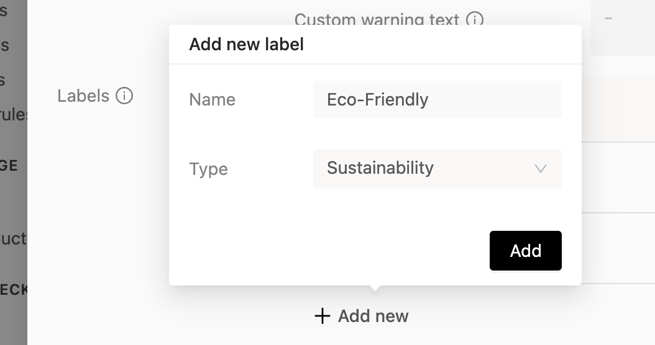
- While creating a new Label, provide a name and select one of the available label types (Sustainability, Priority or Custom).
- Each category can accommodate multiple labels, which can be easily sorted using drag-and-drop. The top-ranked label will appear first (to the left) in the Delivery Category during checkout.
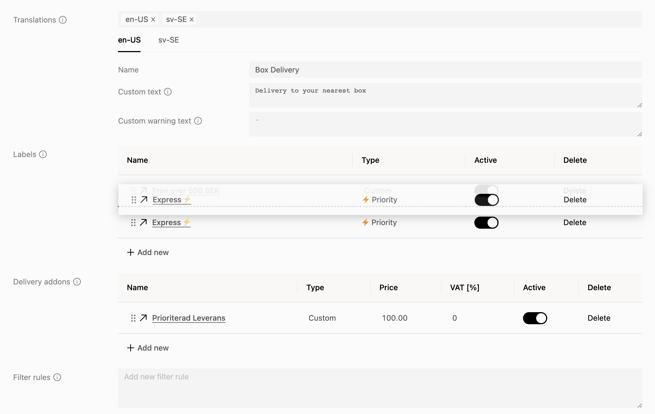
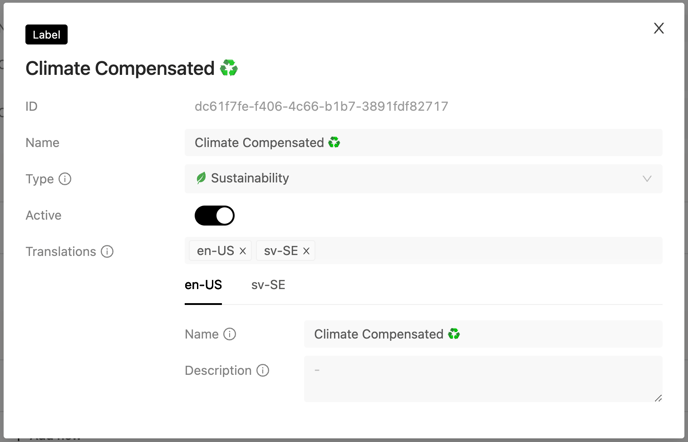
- Click on Label’s name to open an editing modal, where you can specify the Name and Description of the label in a chosen language for proper localisation.
Adding a Category Label step by step through IMP
This section helps you add category labels to your Delivery Categories in checkout.
1. Select a region
2. Add a new delivery category or go into an existing one
3. Scroll down to "labels" and click "add new"
4. Set a name and type for the label
5. A label is added and can then be adjusted
6. Click the name of the label to open it
7. Select locale to define a translation
8. Set Name and Description
9. If you have multiple labels on the same category, labels can dragged and dropped to to end up listed as first label on that category
