
This article explains how you can add a Delivery Category in Ingrid Merchant Platform.
Adding a Delivery Category
Steps:
- From your Ingrid Platform admin go to Delivery Checkout > Regions > Specific Region
- Scroll down to Delivery Categories and click Add new
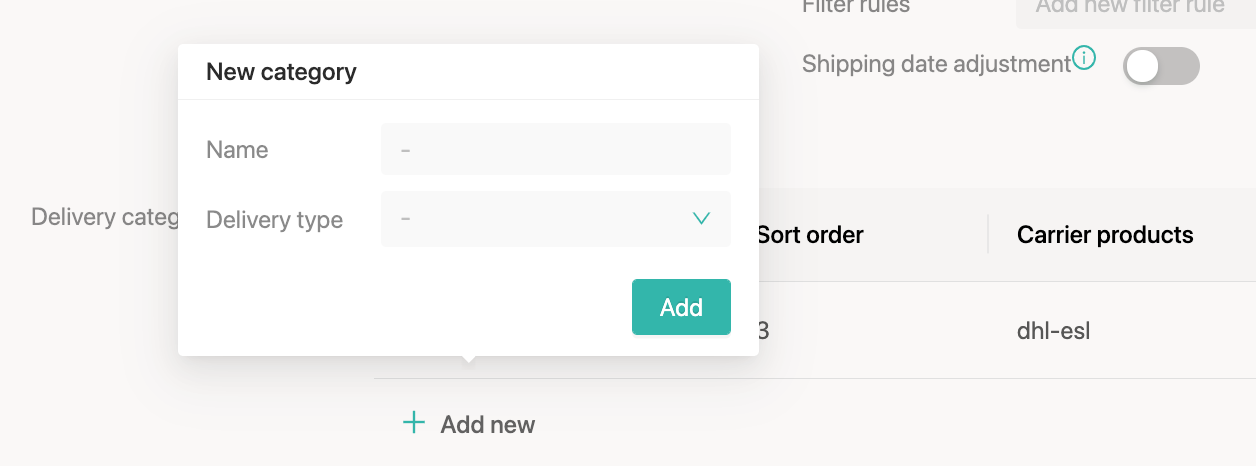
- Set a name for the category. This would be a default name of the category in Ingrid Platform. You can specify for a certain language later with the usage of Translations
- Specify the Delivery Type (Delivery, In store, Mailbox or Pickup Point). Mind: the delivery type of a category should be the same as Carrier product delivery type you want to link a category with.
- When the new category is created, there is a pop up window for fulfilling all the Delivery category settings.
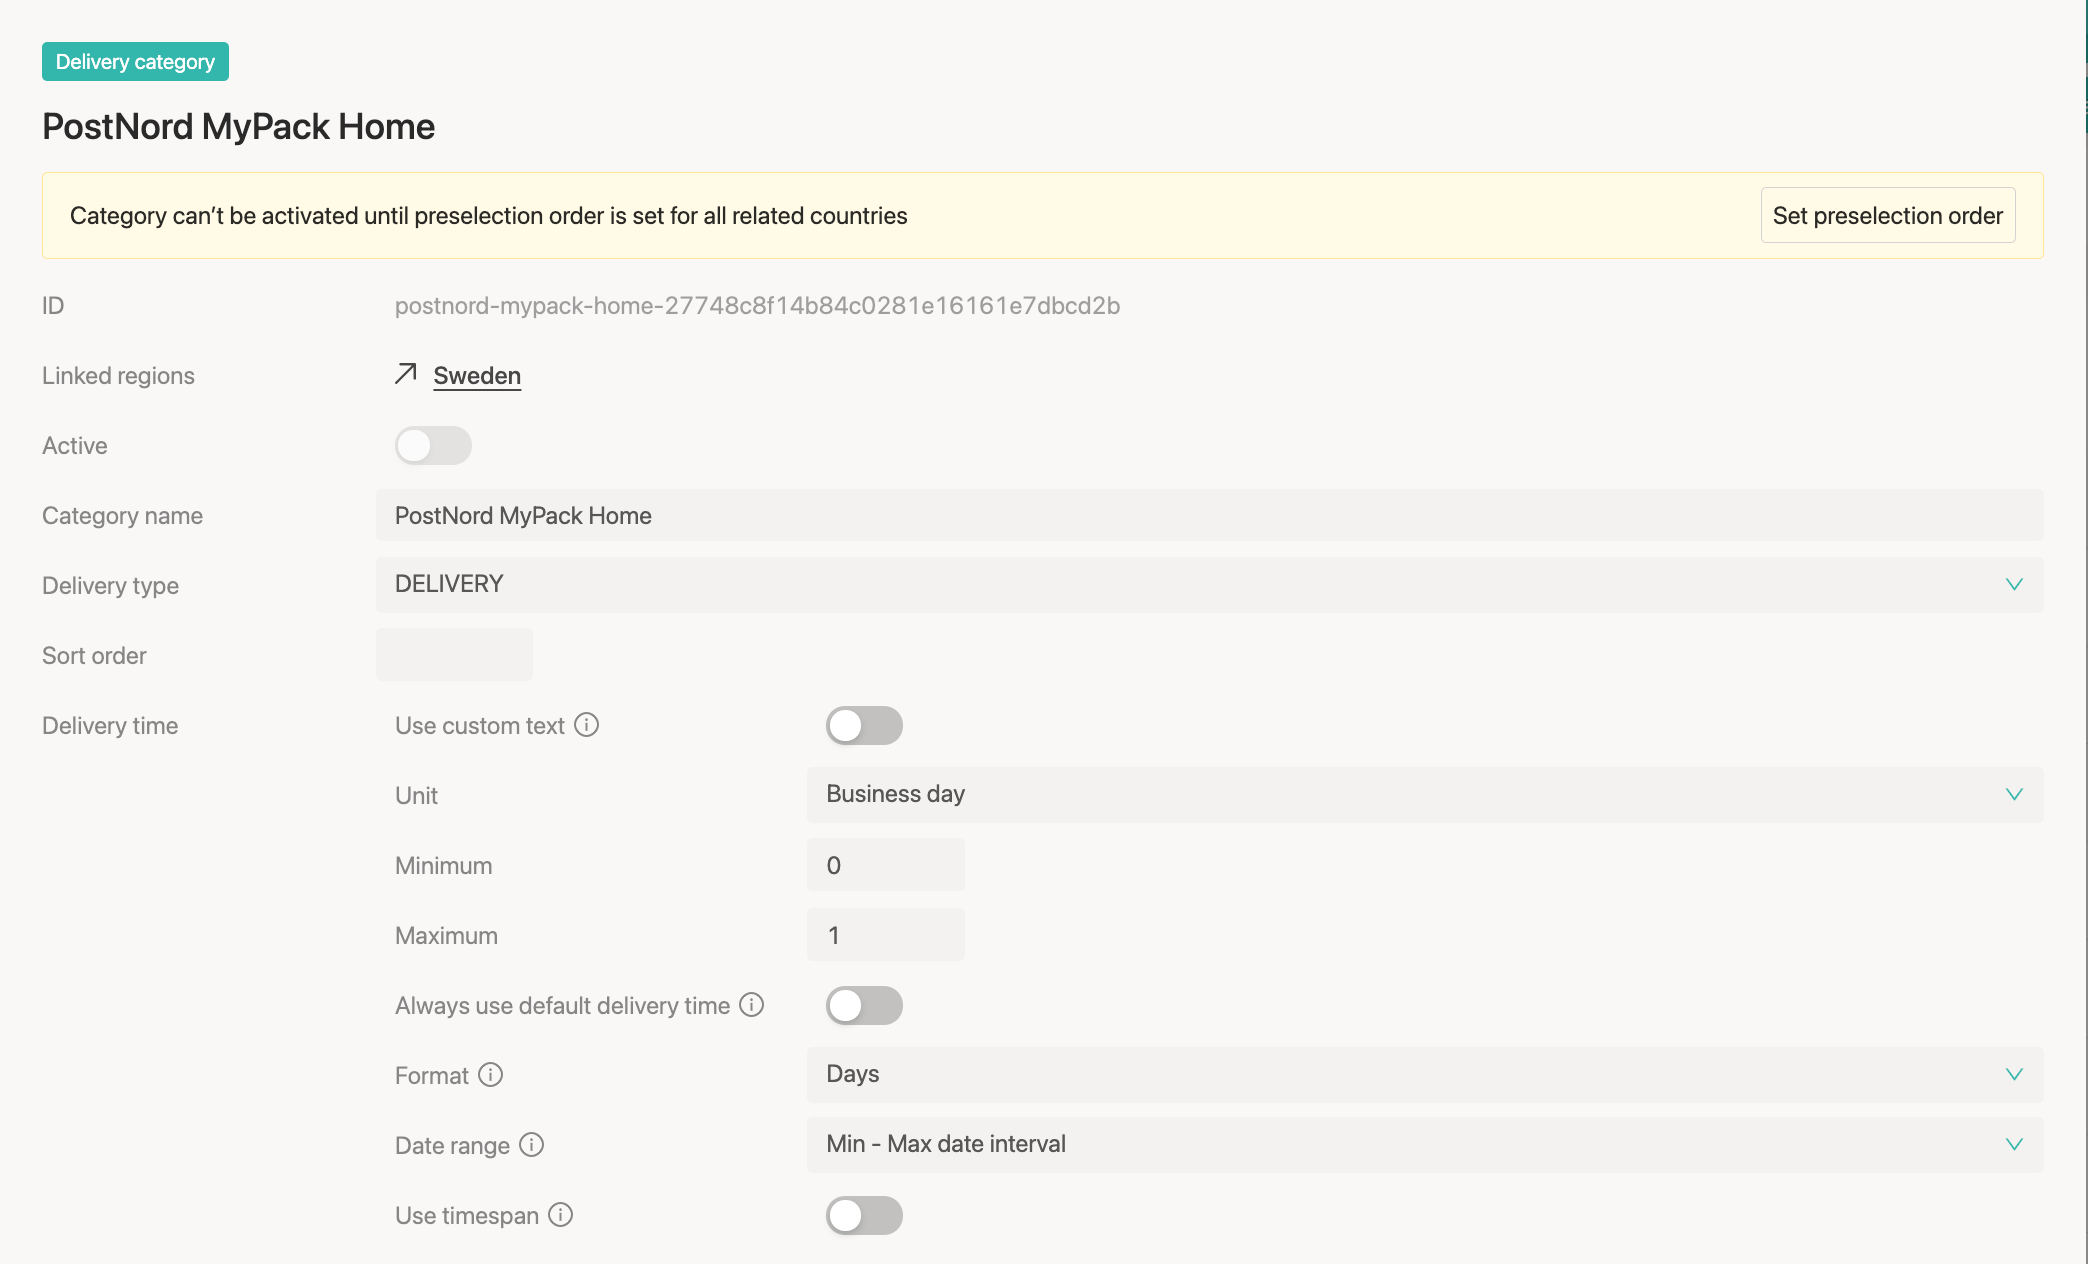
Mind: by default any new category is inactive and you need to detail it to enable it on the Checkout. - Set up a sort order. This number will define the order in which a category will be shown on the checkout.
- Optional: Set up the delivery time. Learn more in Delivery time article.
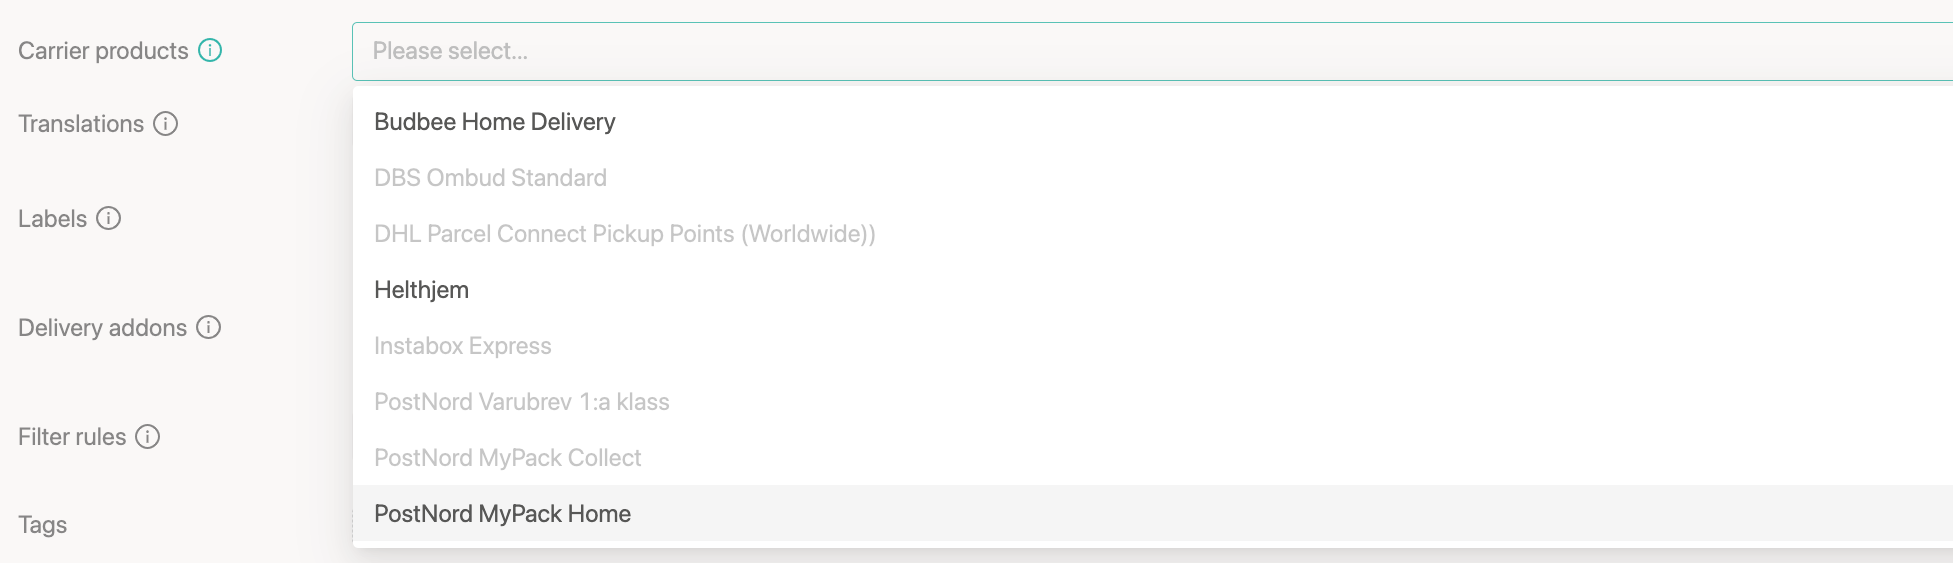
- Add a carrier product. This would link your delivery category with a specific carrier service. If not linked - the option won't be shown on the Checkout.
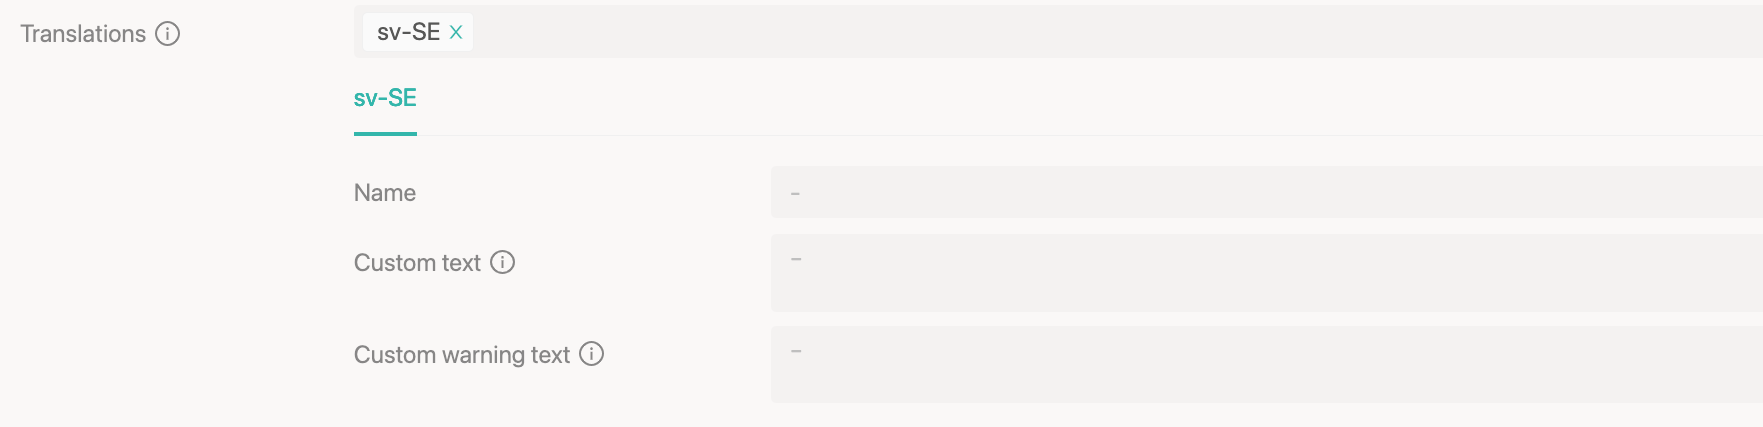
- Optional: Define the category name and/or category custom text in certain language by adding a locale. Learn more in Translations
- Optional: Add a category label. Find more in Category labels
- Optional: Define Delivery addons
- Optional: Set up the filter rules - special conditions to expose/remove a delivery category from the Checkout. More in Filter rules
- Optional: Add a delivery category tag. More in Delivery category Tags
- Set up preselection order. This is a mandatory feature, which defines which delivery option would be preselected once the Checkout is loaded for the first time. Learn more Preselection order
- Optional: set up additional Properties.
- Click somewhere outside the pop up window and it will be closed.
- Activate a delivery category by switching on the toggle.

Next to: Test Checkout Widget. Find more in Test Checkout Widget